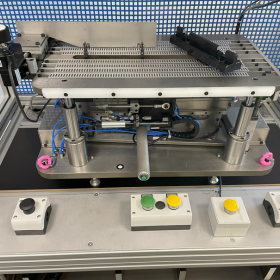
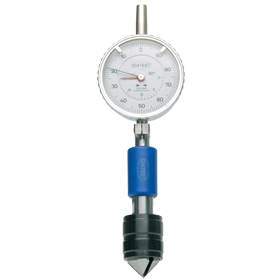
Measurement of diameter and length
DIA-COME
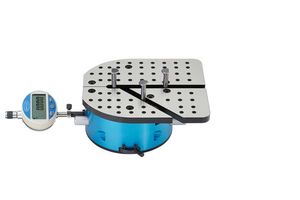
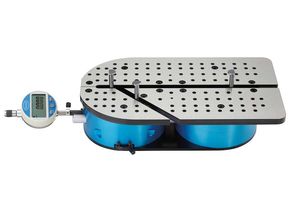
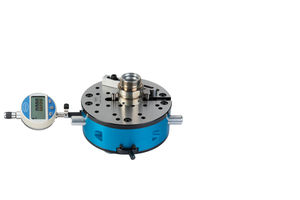
Flexible und sturdy measuring tables for measurement of I.D. and O.D.
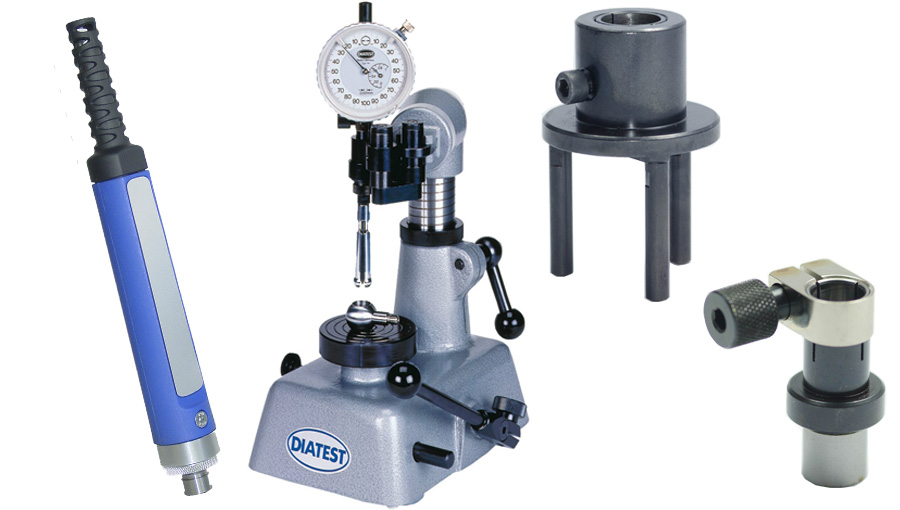
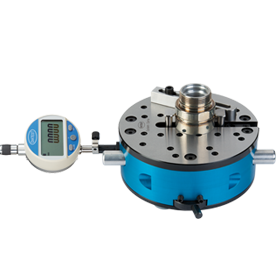
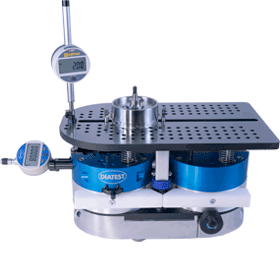
DIA-COME measuring tables are offered in different sizes, layouts and measuring ranges. They are often used close to the production machine, e. g. for measurement of samples.
DIA-COME C2 measuring tables are available in 3 sizes. They have a fixed and a moving measuring contact. Measuring range of the moving contact is 20 mm. The C2 tables cover different measuring ranges:
- I.D. from 30 – 275 mm
- O.D. from 0 – 245 mm
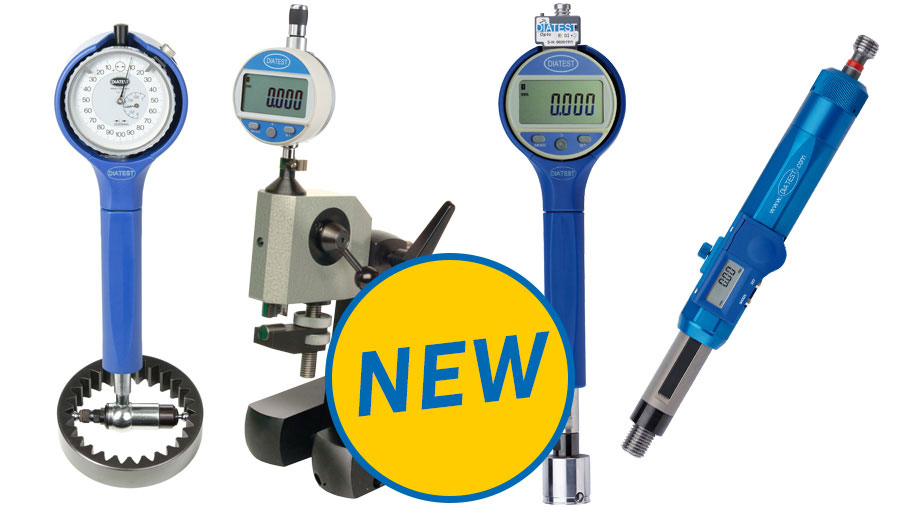
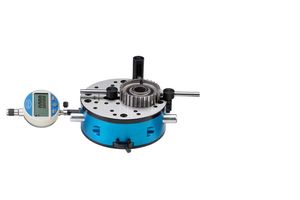
- Internal gear gauge Mi = 70 – 275 mm
- External gear gauge Ma = 0 – 245 mm
DIA-COME C3 measuring tables are available in 4 sizes. They have two fixed and one moving measuring contact. Measuring range of the moving contact is 20 mm. The C3 tables cover different measuring ranges:
- I.D. from 35 – 450 mm
- O.D. from 0 – 420 mm
In order not to distort or damage the work piece the measuring force can be continuously adjusted. Measuring accuracy is ± 2 μm.
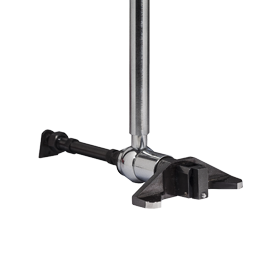
Additional application kits (Kits) provide solutions for the most common measuring tasks, e. g. for small diameters from 11.5 mm I.D., Flat bottom, ball anvils or recesses. Many different measuring tasks (for example inside and outside grooves, concentricity or tapers) can be checked thanks to the wide range of accessories. Special measuring inserts on request.
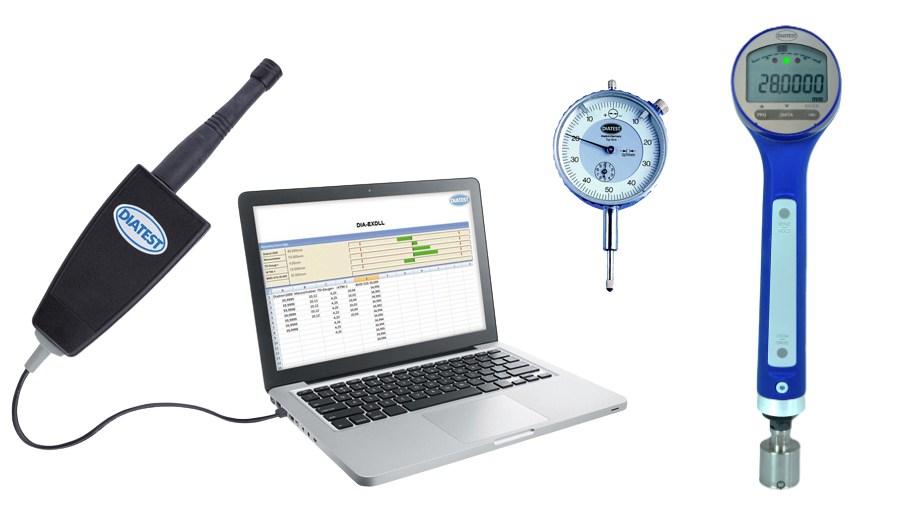
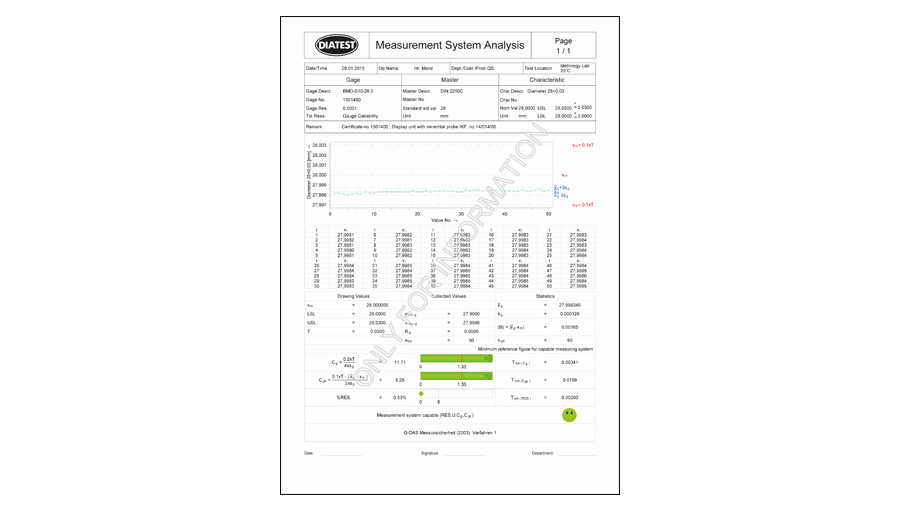
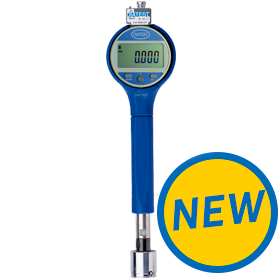
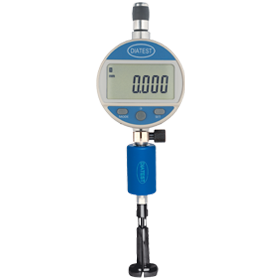
Mechanical or digital indicators can be used, also inductive and incremental probes, PC, DIATRON or printers. Measured values can be transferred wireless (DIAWIRELESS) to a PC or DIATRON by using an appropriate indicator.
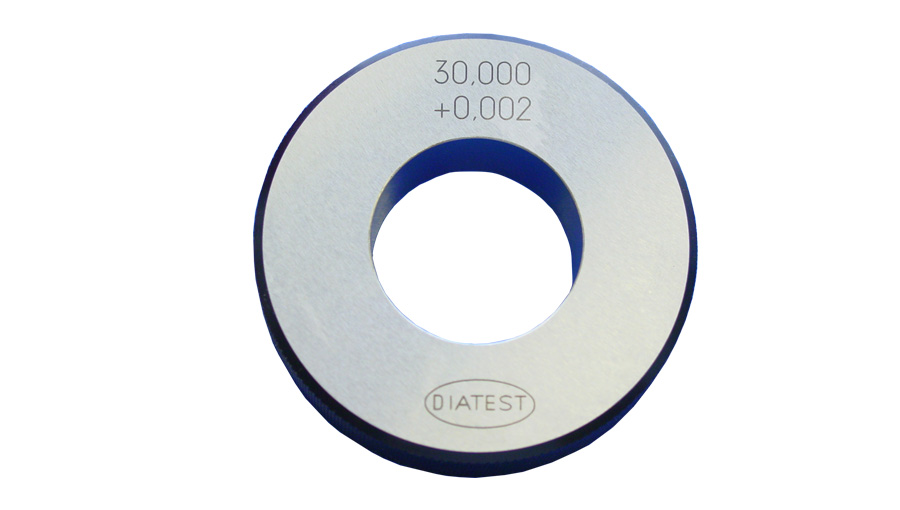
Setting masters or gauge blocks can be used for adjustment and zero setting.
DIA-COME for Gear Gauging, see Gear Gauging.


